I'm not really sure if you would consider this a box or a bag...either way it's a fun little project just in time for Thanksgiving.
Here are some of the tools you will need:
Start with cutting 2 pieces of cardstock ( I used SU! kraft cardstock) with your SU! top note die. You could also use the similar shape found on cricut cartridges like accent essentials and storybook. The top note shape when cut is about 3 3/4" x 4 3/4". Ink the edges to give some dimension to your project.
Set this aside, this will be the front and back of your turkey.
Next cut a piece of the same color cardstock to 3"x11"
Score this piece...
Next you will need to snip the corners, so that we can fold this into shape. You will snip from the score lines outward in the four areas where your score line intersect.
When you have snipped all four corners it will look like this...
Next fold on the score lines inward
You can set this piece aside for right now.
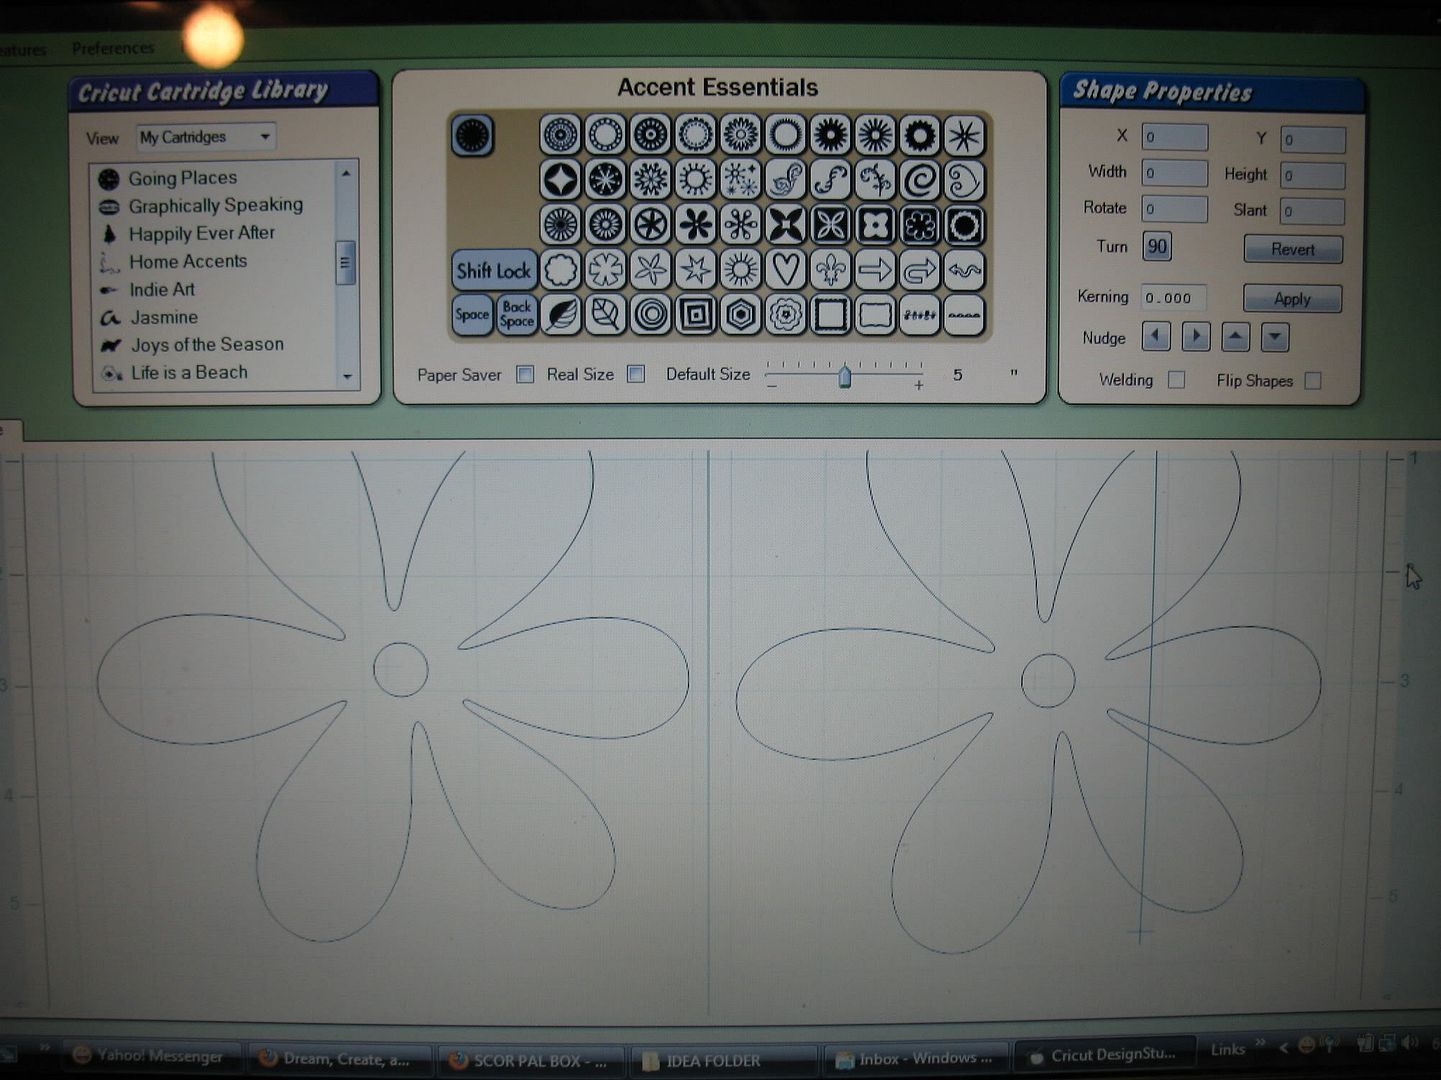
Next we will create some feathers for this little guy. You could use just about anything that will give you this shape. I choose to use a flower from the cricut cartridge Accent Essentials. Here is a picture of the flower I used, and I cut it at 5"
I loaded my cricut cutting mat up with the four colors I choose for feathers
Here is what it looked like once the flowers were cut:
Next cut each of the flower petals apart
Emboss and ink the feathers. You really only need 2-3 of each color. I had extra left over.
Cut 2 scallops that are about 3 1/4" (I used a nestie) and start attaching the feather to one of the scallops. The other scallop will get attached to the back to hide all the glued feathers
Let's give our turkey a face :)
Punch 2 circles in white with the 1 1/4" punch (whites of the eye)
Punch 2 circles in black with the 1" punch (pupil)
Punch 1 circle with the 1 3/8th punch and cut in half (eyelids)
The beak is tricky, and you will have to play with this until you get one you like. What I did was take a small piece of cardstock fold it in half. Flip my oval punch upside down (so the metal is facing me) stick the folded cardstock in part way and punch.
The little red hangie thingy is just an extra red feather hand cut to look like a one of those thingies. (Sorry I don't know the technically term...so hangie thingy will have to do)
If you would like to add "hands" I use the SU! scallop circle, cut it so I had 3 little scallop and folded it around the side of the body of my turkey.
For my sign I used a toothpick colored with a copic marker, and added a happy thanksgiving sentiment from a retired SU! stamp set.
Once you have a face on your turkey you can assemble all of your pieces:
I hope I have included enough pictures to make this tutorial fun and easy. Next time I think I will do a video, it probably would have been much easier to follow :)
Have fun and if you have any questions, let me know!