.
.
.
.
.
.
.
Ok....is she gone!??!?! LOL!
As you all know I am guest designer on Christmas with the Cricut blog this week, along with the ultra talented Monique (see her fabulous creations here).
Today is the day that the girls on CWTC post a gift packaging project for us all to drool over and make us want a million crafty things we never knew we wanted. Right!?!?! If that alone is not a good enough reason for you to visit....what if I told you they are giving away tons of FREE stuff this week!?!? Interested now?? Just leave a comment on their posts for this week and make sure you are a follower of their blog. Just that easy.
On more thing I am having a huge sale this week to celebrate my week as guest designer. 25% off your entire Stampin' Up order!! Wow...that is HUGE....I know! It's better than what us demos get!! Just e-mail me your order ferg@new.rr.com (plus you can combine my sale with Stampin' Ups huge sale...how awesome is that!?!?)
Let's get to the goodies....


Now for the details.....

Here is what the box looked like before I started. I bought at Hobby Lobby.
I used Stampin' Up Chocolate Chip craft ink to stain the wood, and Tim Holtz distressing ink in walnut to bring out the wood grain.
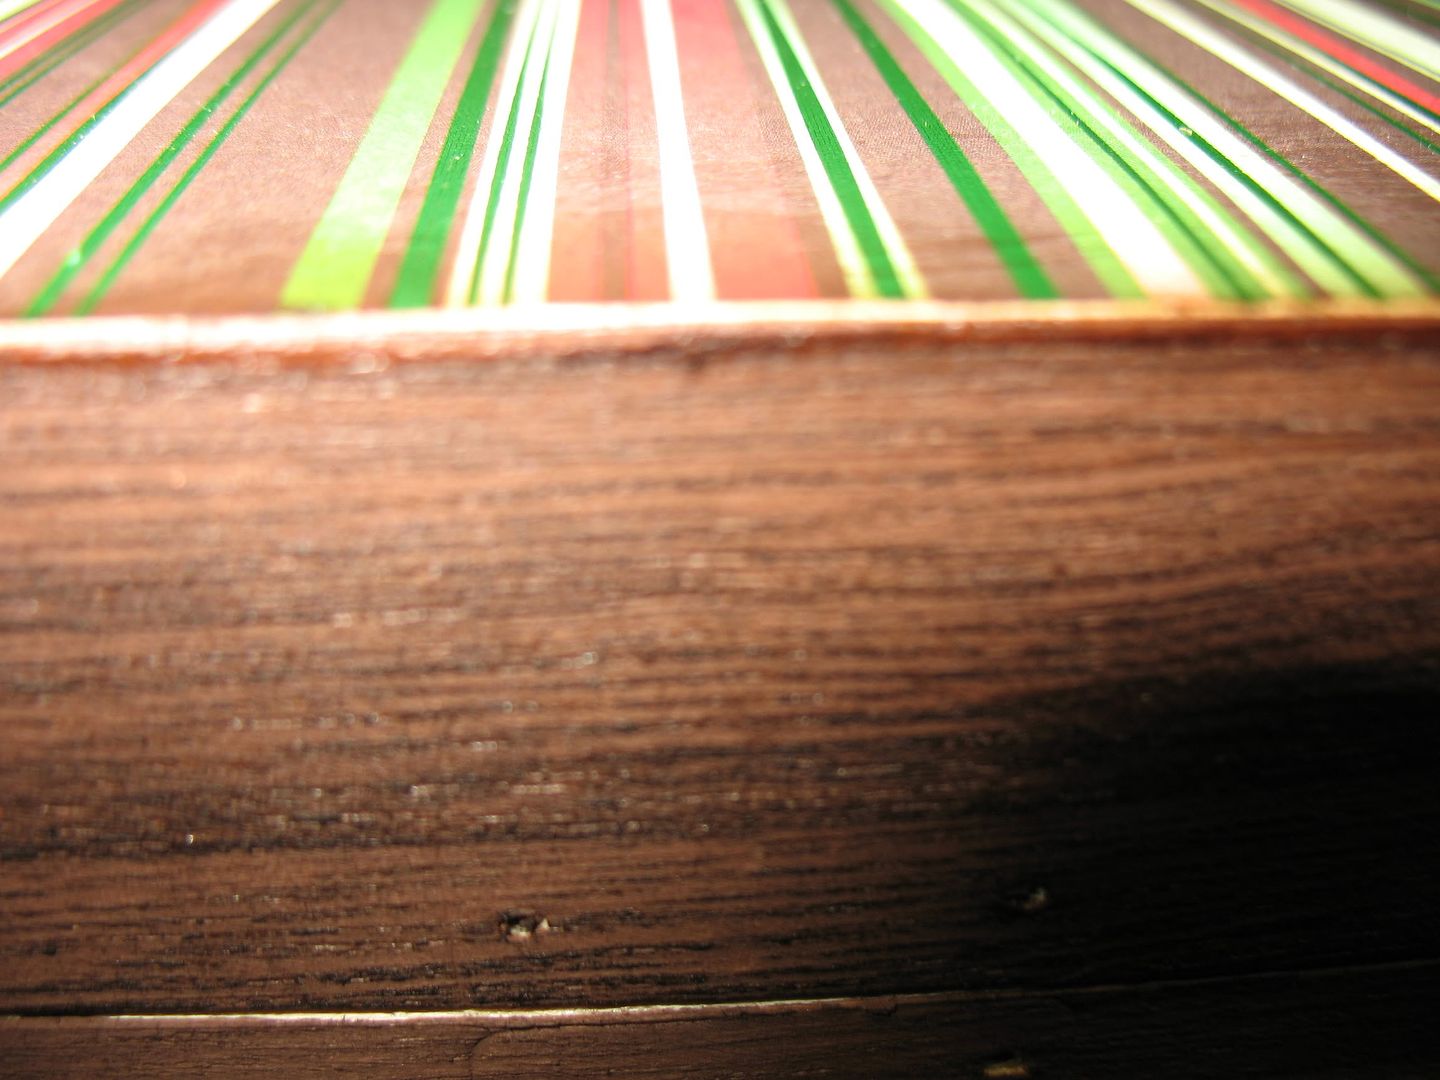
Next I traced the lid on to the back side of my paper (SEI Christmas Mint collection)
cut it out and glued it down with a coat of Mod Podge.
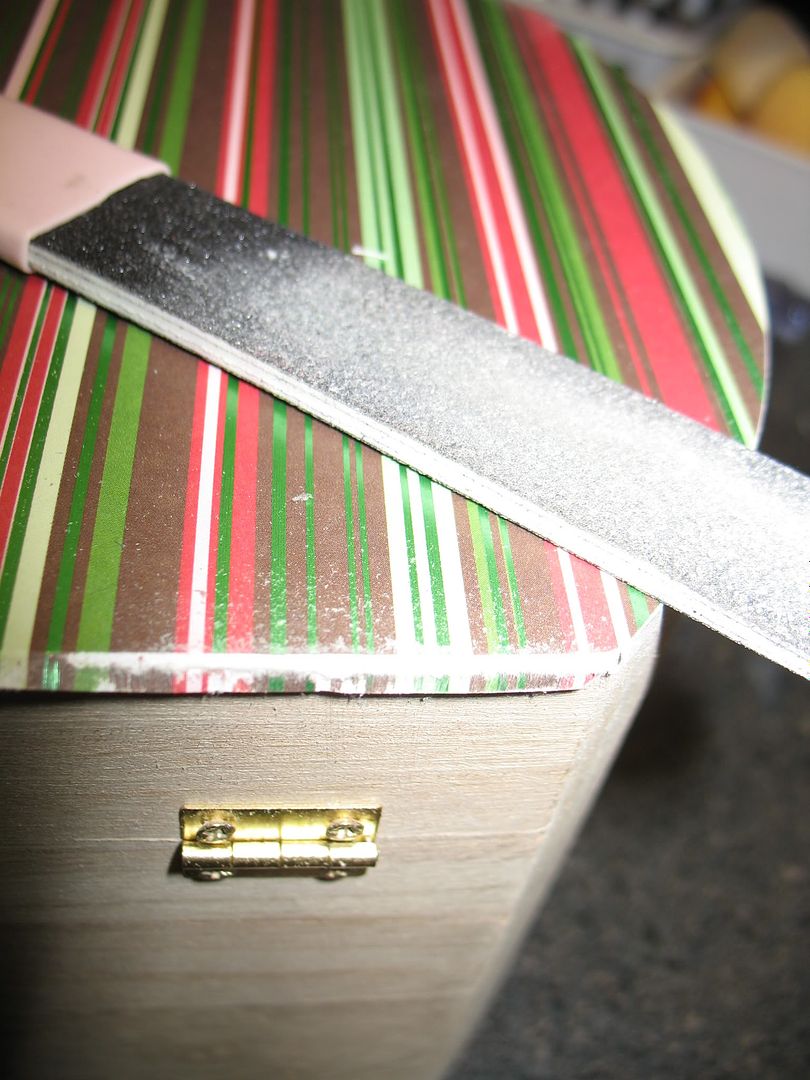
Then I used my Basic Grey file to file away the excess paper around the edges of the lid.
Next I measured the sides of the box and cut pieces to fit, and attached all four sides with a coat of Mod Podge. (I also removed all the hardware before attaching paper) I also applied a coat of mod podge to the top of all the paper. This will protect the paper for years to come. While that dried I created the poinsettia for the top of the box :)
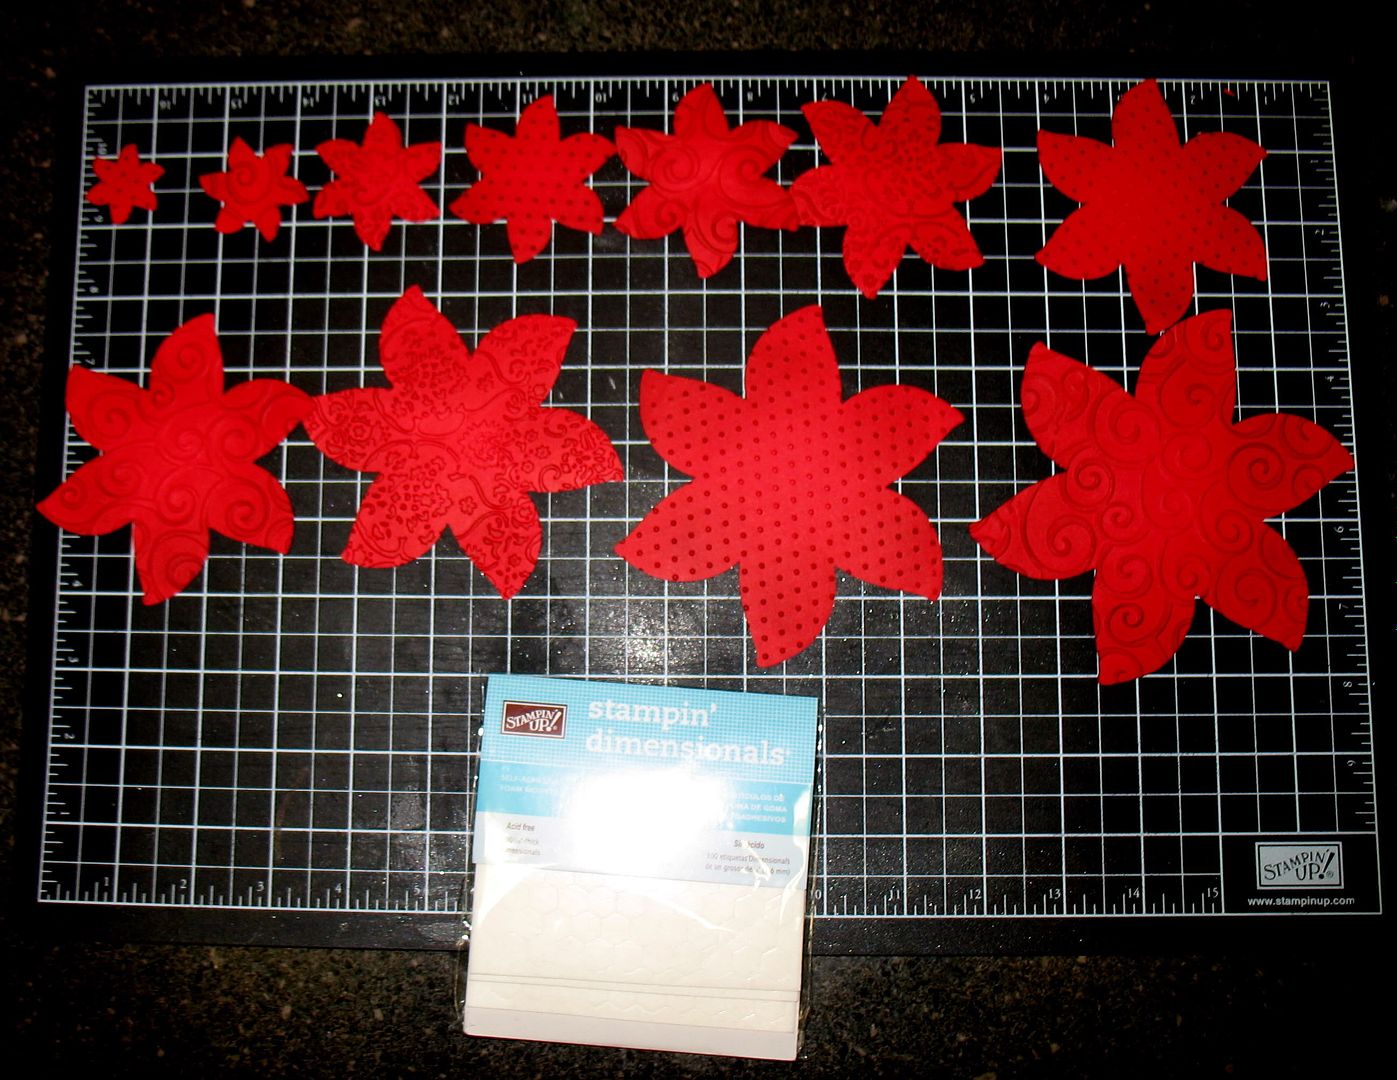
I cut out 11 poinsettias from the Winter Woodland cricut cartridge. They started at 1" and each one increased in size by 1/2". The largest poinsettia is 6" (the leaves are from the 6" poinsettia)
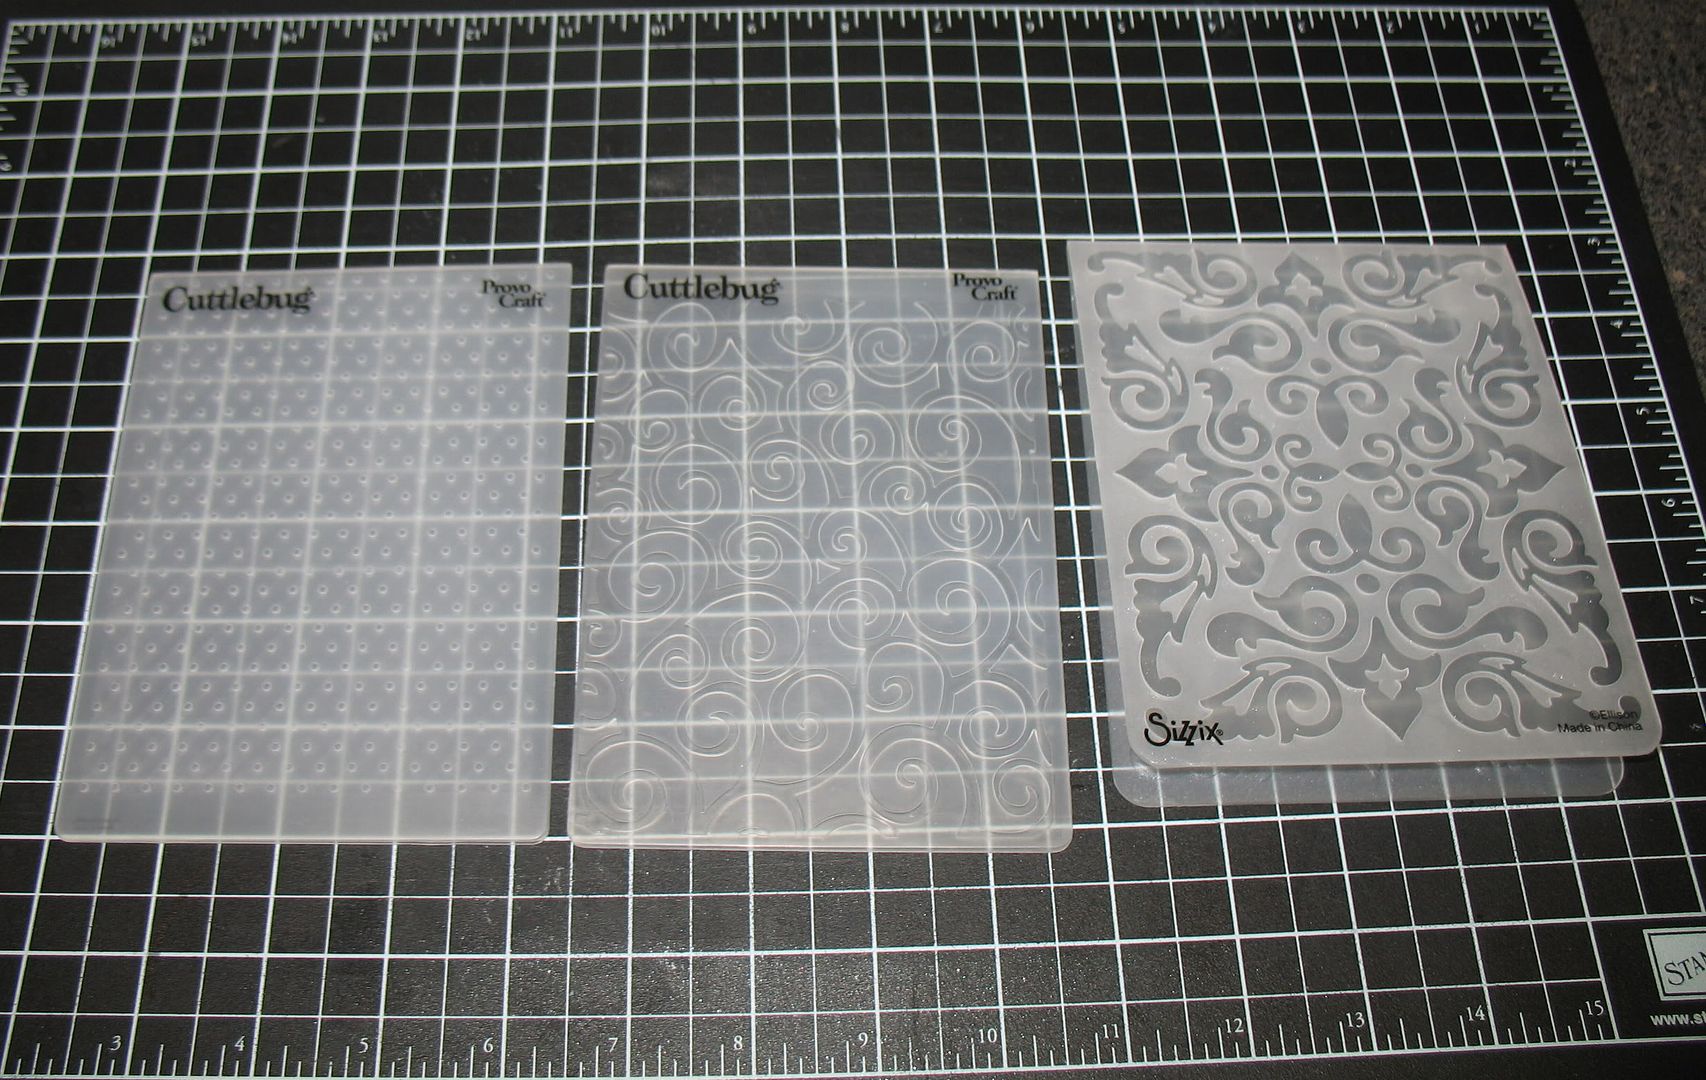
I used these embossing folders to emboss the flowers (oops I forgot one) . Then used Tim Holtz distressing ink in walnut to bring out the texture in each of the flowers. (Can you tell I love this ink pad??)
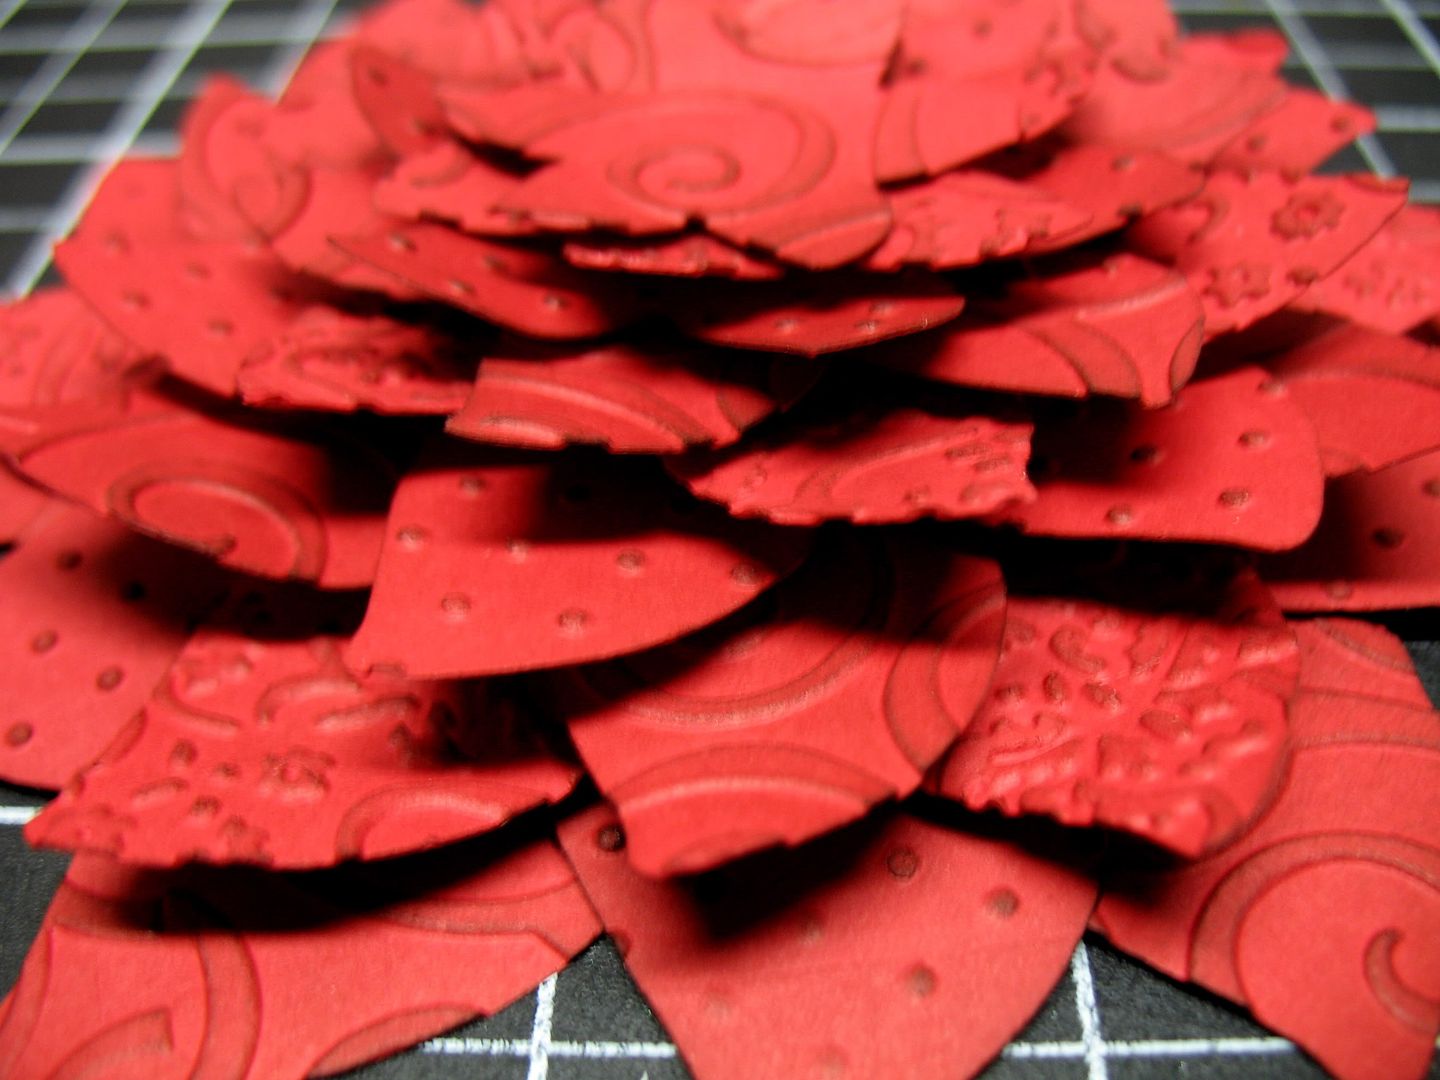
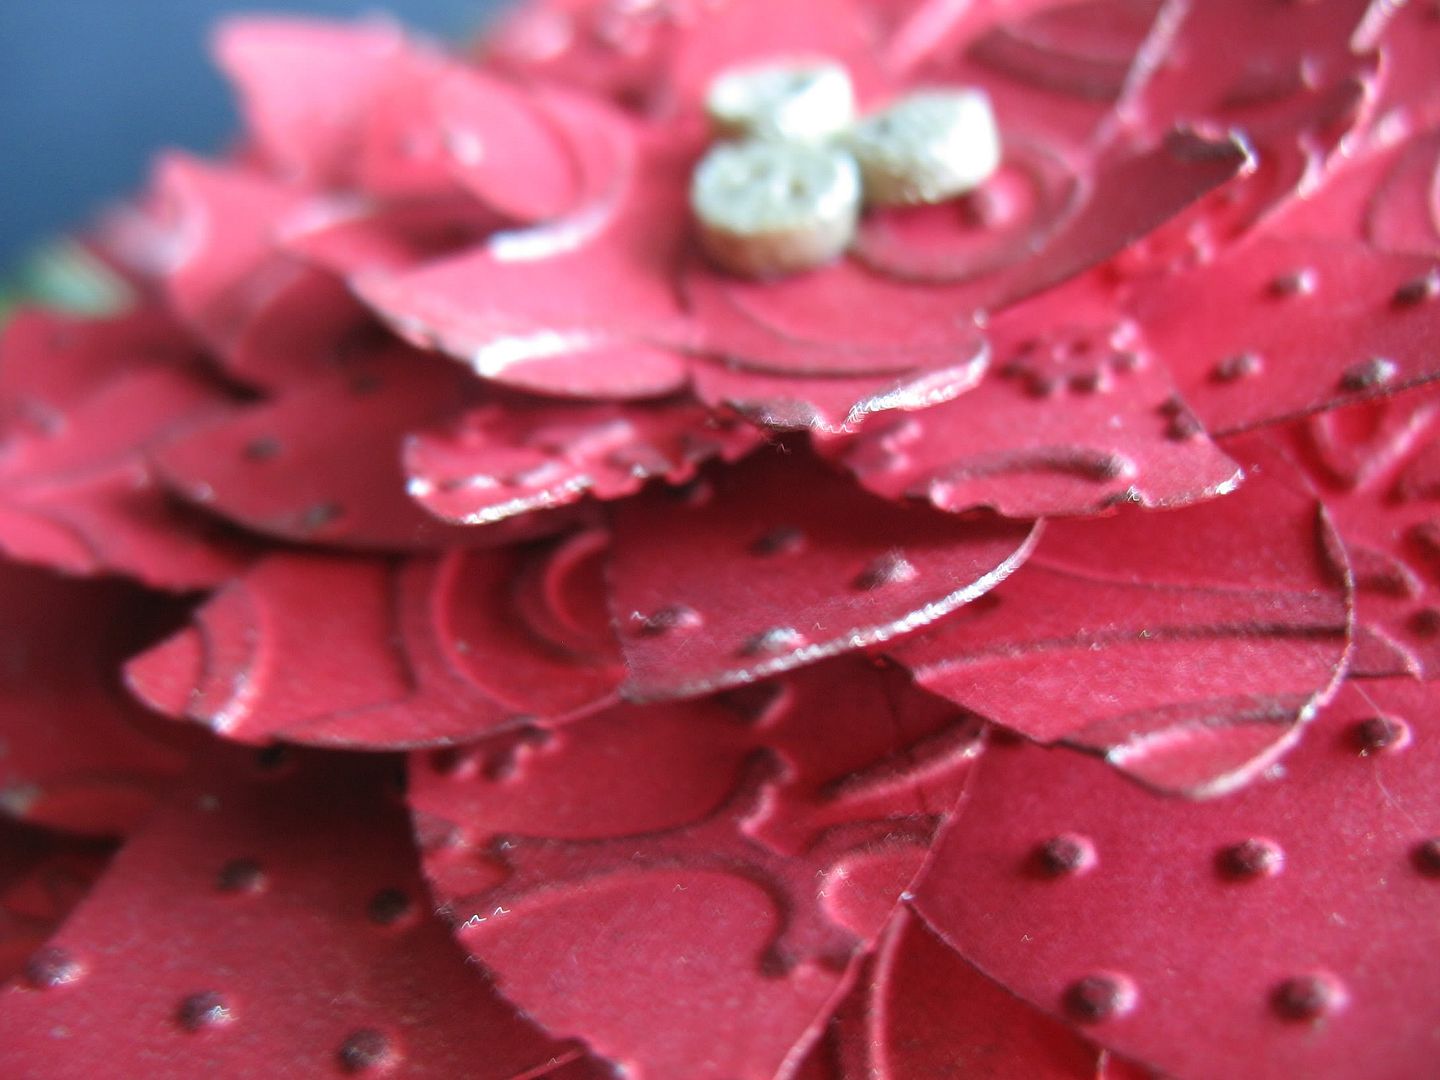
Starting with the largest flower I began layering the flowers using Stampin' Up dimensionals (the best dimensionals in the WORLD!!) and just kept layering.
I covered 3 small buttons with versamark ink and sprinkled with gold tinsel embossing powder. Then added a dusting of champagne shimmer paint from SU! to the buttons and the edges of the flowers.
Lastly I tied red stitched ribbon from Bazzill around the lid of the box for a finishing touch.
Tomorrow is scrapbook page layout day...and I have TWO 2 page layouts to share with you!!!
Hope you like what I shared today, and stop back in tomorrow.